The Lucky Leprechaun is about to find his pot of gold at the end of the rainbow and it’s time for the kiddos to get ready to catch him. And the way to catch him is by trapping him with rainbows and shamrocks. Below are a few craft activities I found you can enjoy with your little one that is super easy and fun.
The Marshmallow Shamrock
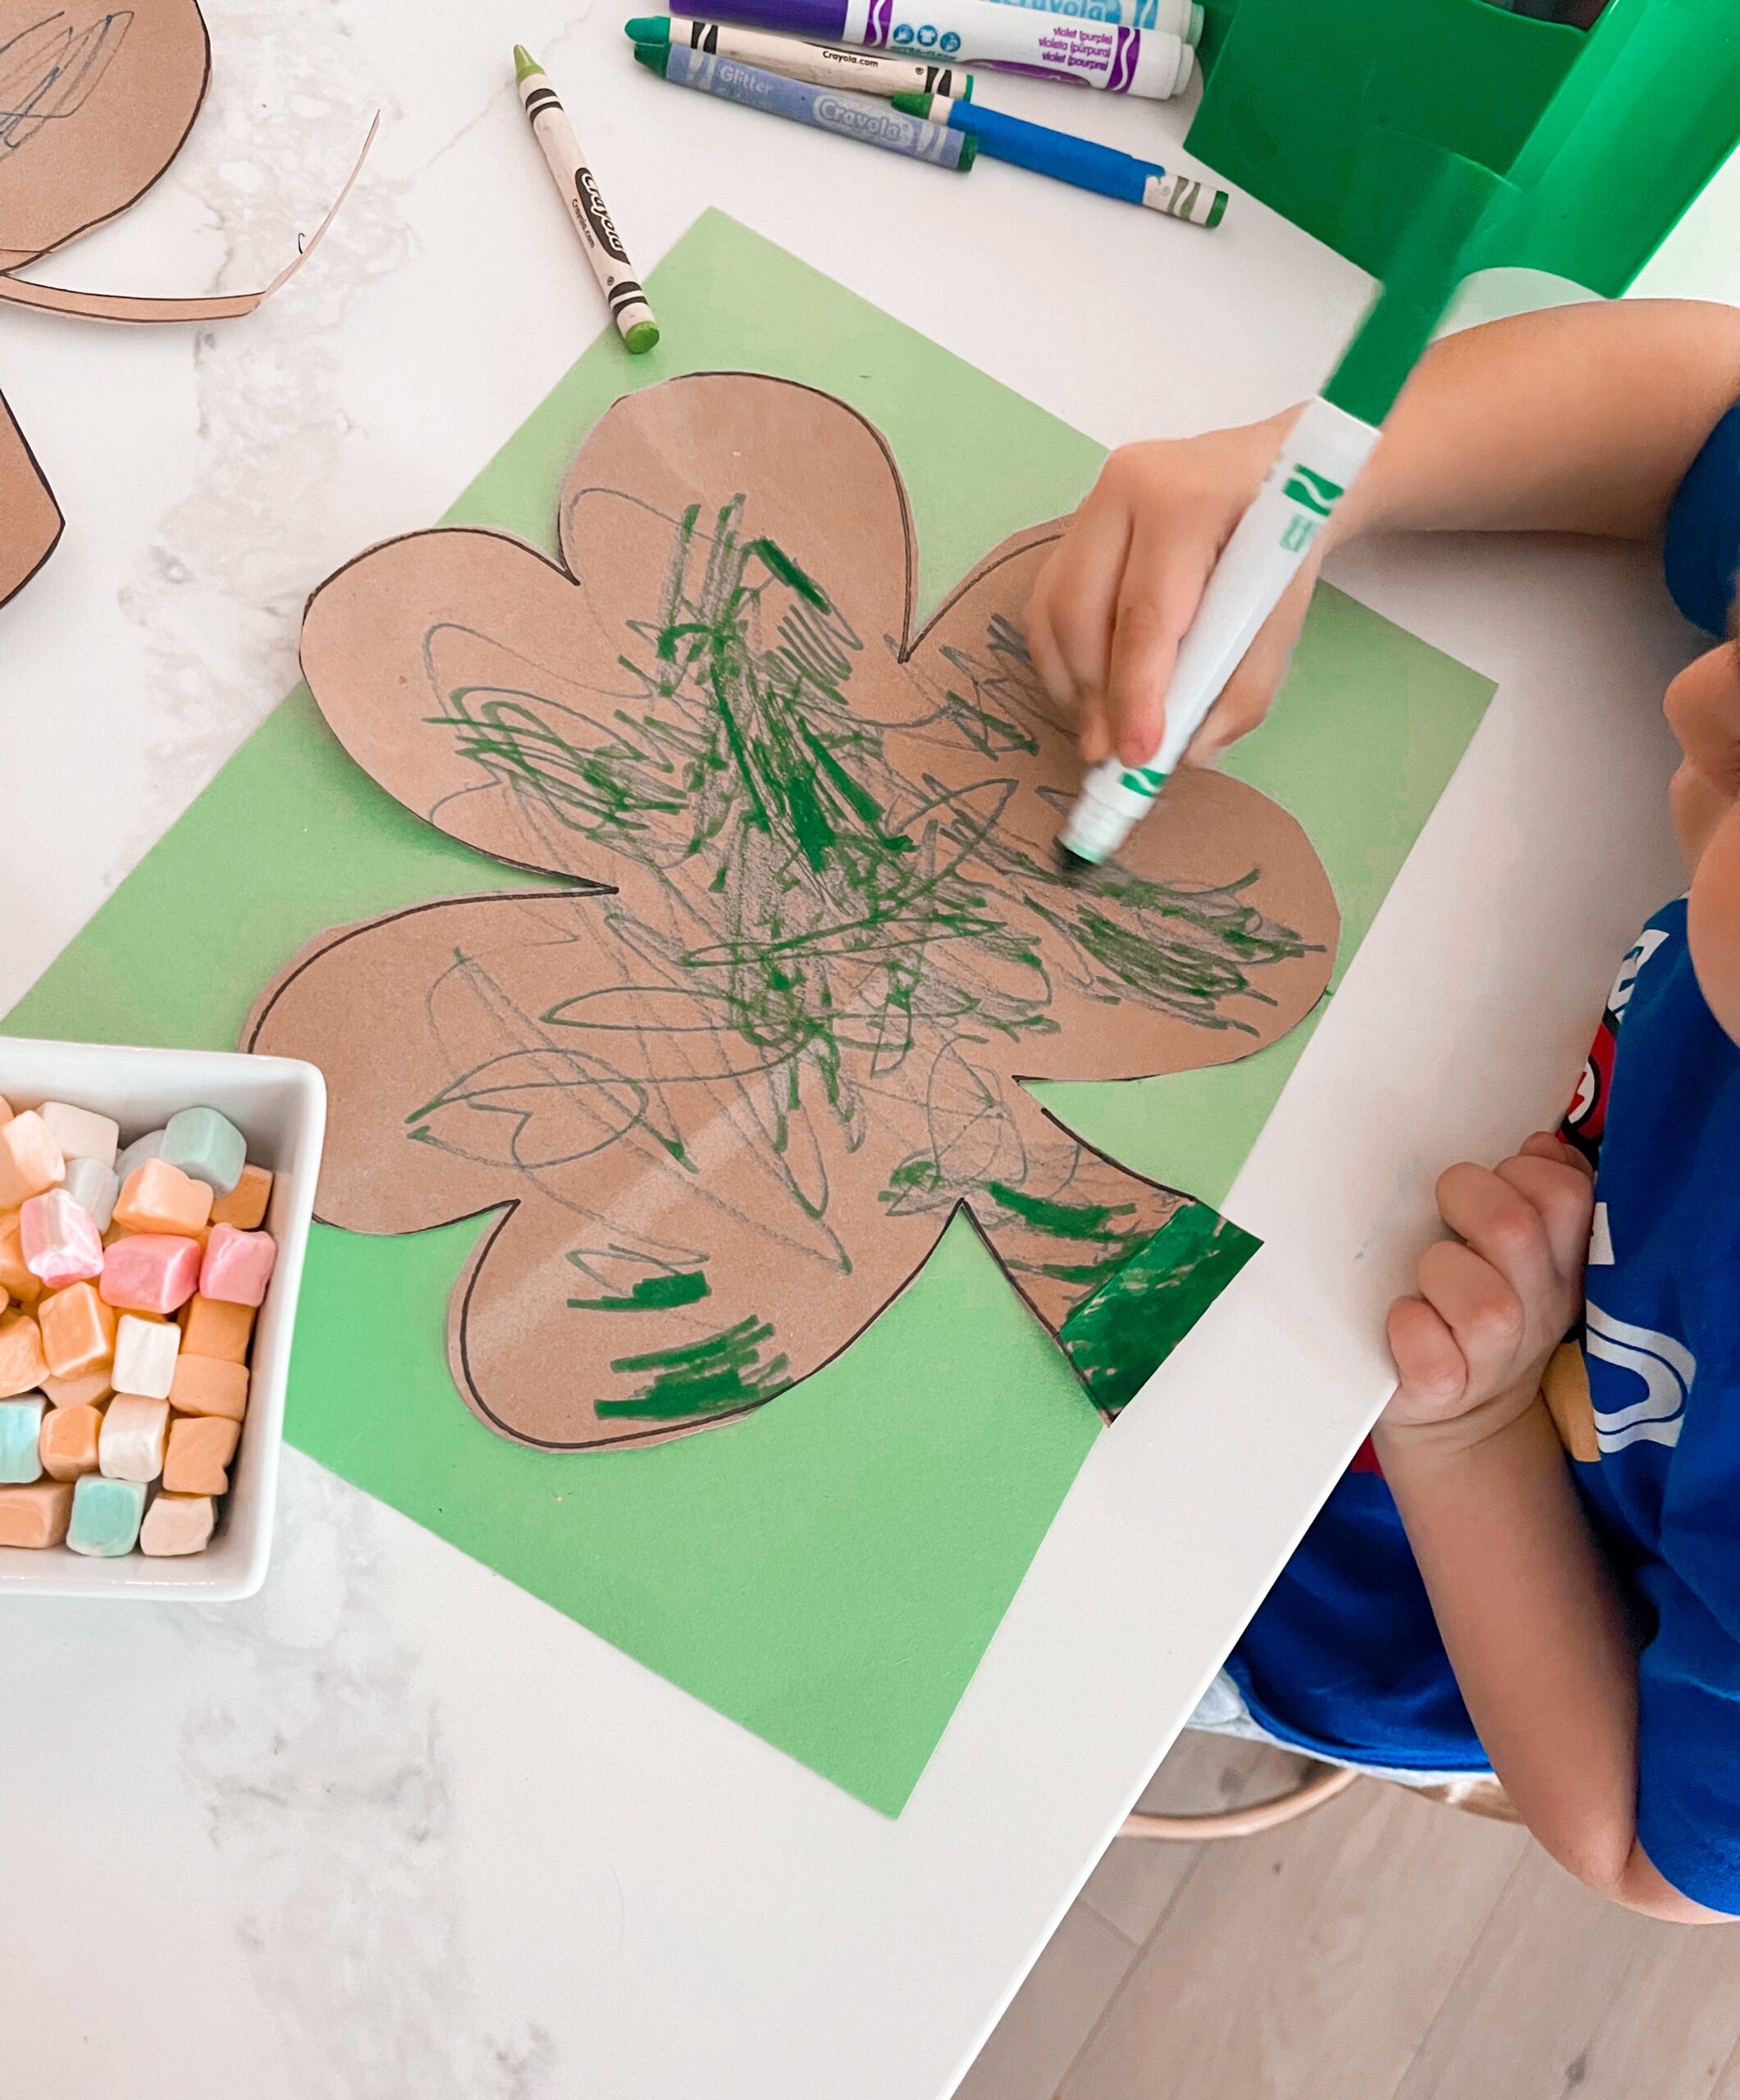
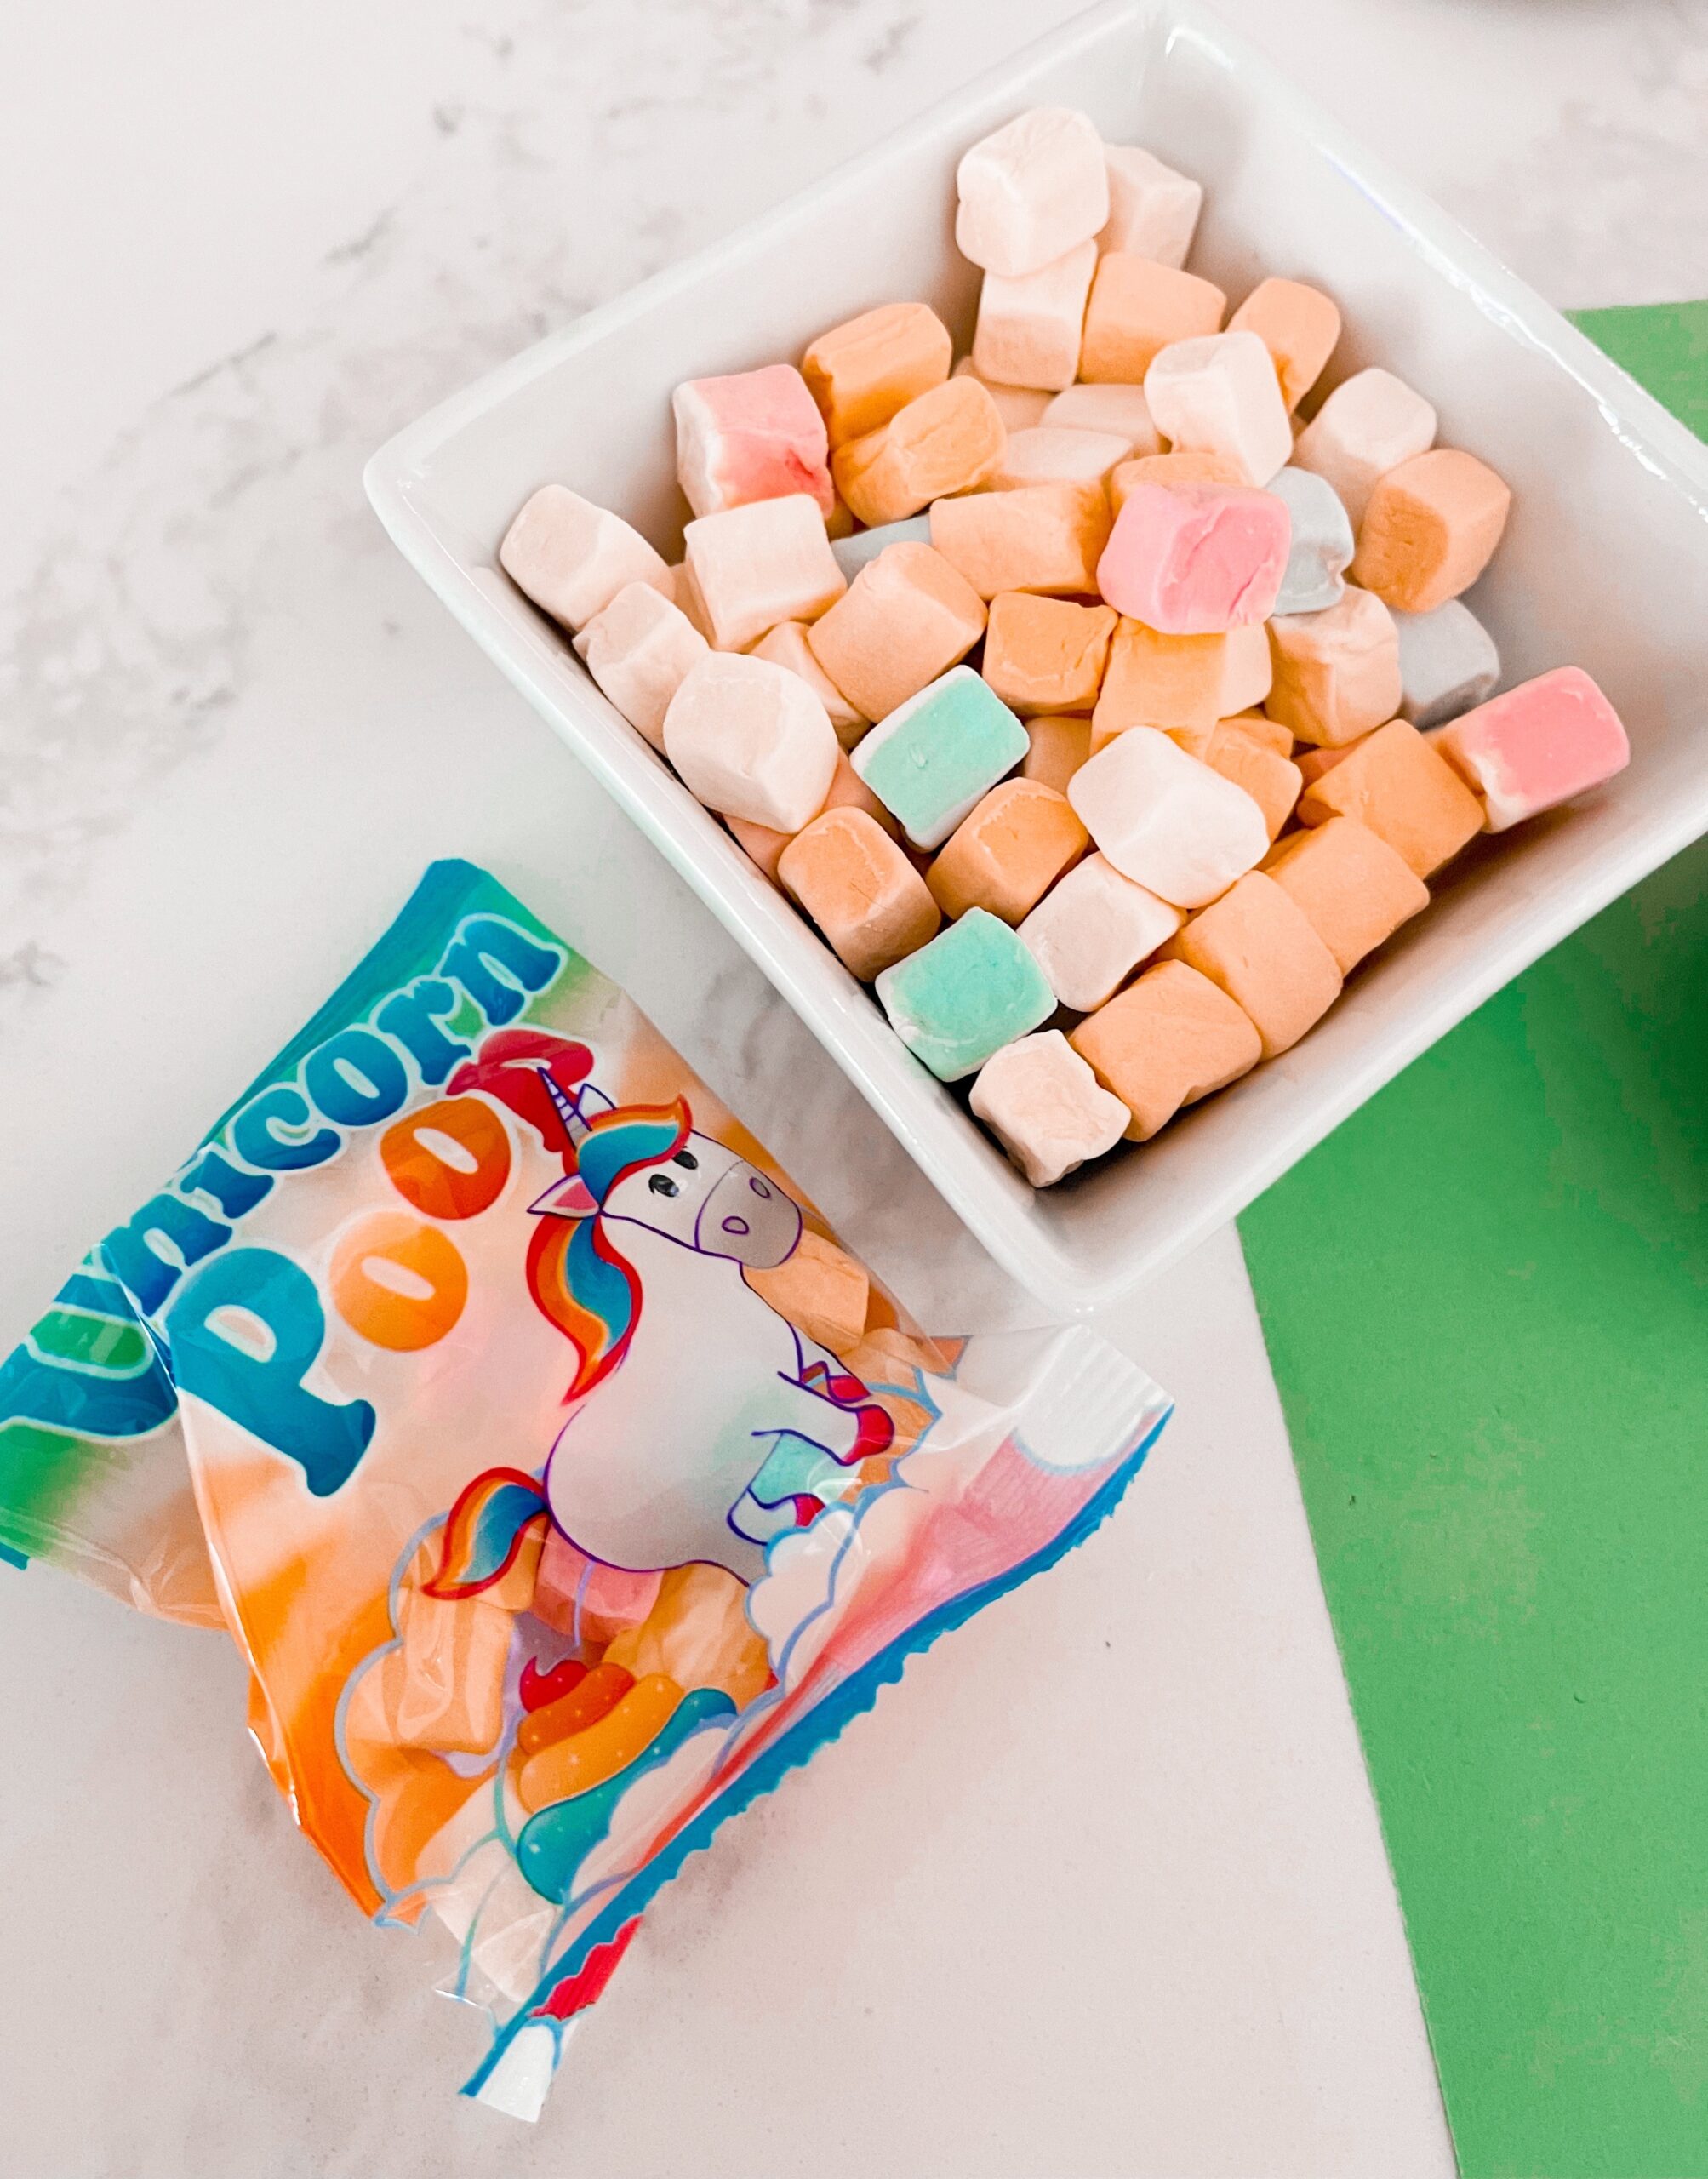
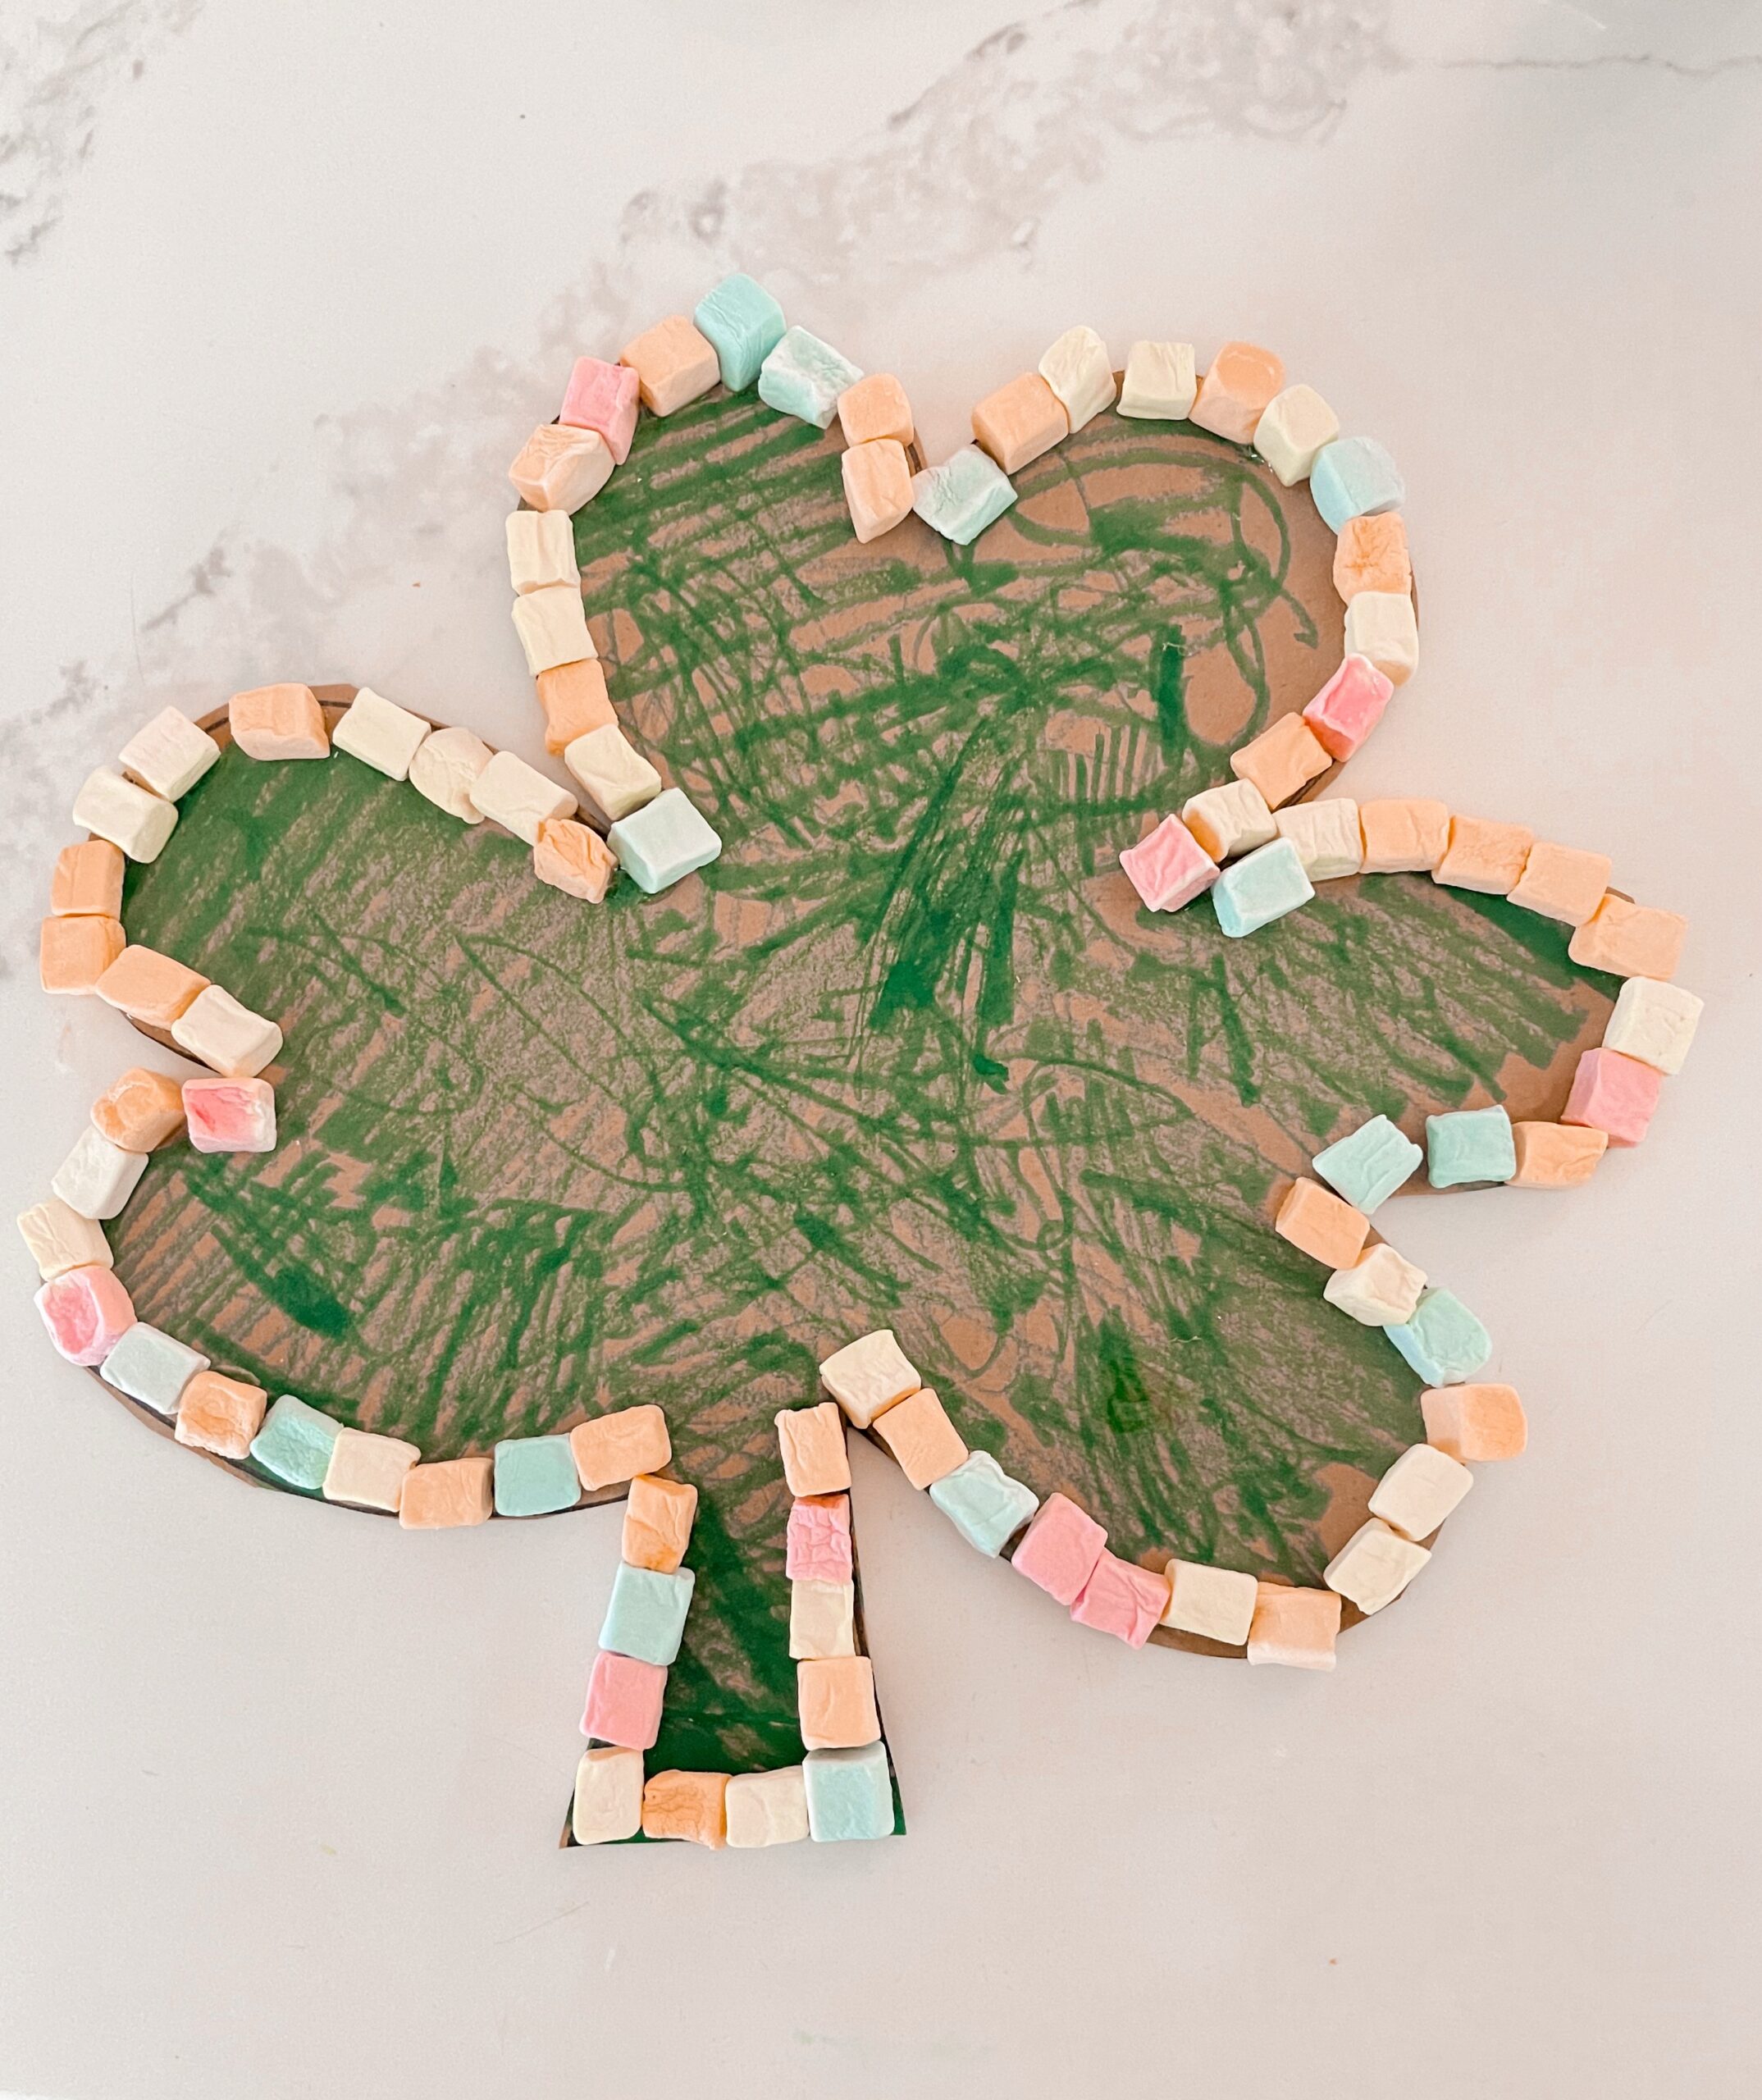
The marshmallow shamrock craft I found from notimeforflashcards.com is super simple and easy. You can find most of the materials for this lying around the house. Here is what you need:
- Sturdy paper – use brown paper bags from the grocery store.
- Multi-color mini marshmallows
- Marker
- Green crayons or markers
- Scissors
- Glue
First, you will want to start by cutting open your bag and drawing a shamrock. Then have your kiddo color inside the shamrock with the different shades of green. Thirdly, you will want to glue, tracing along the outline. Your toddler may need help with the glue. In the final step, add the marshmallows. Boom! You’re almost done. Finally, you cut around the shamrock.
Over The Rainbow Craft
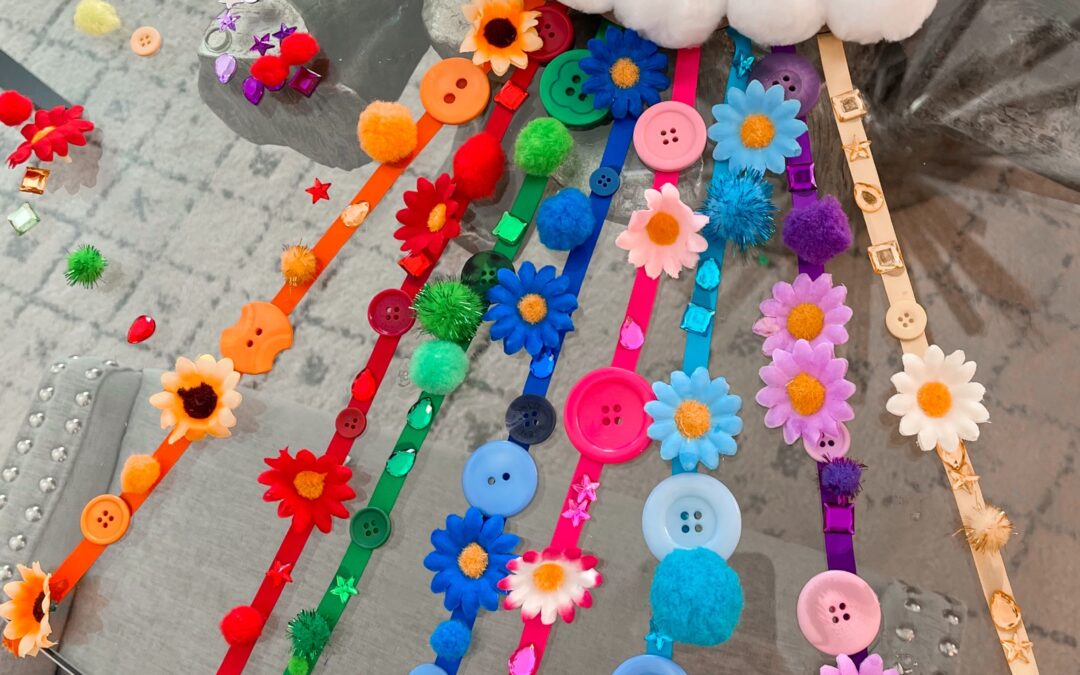
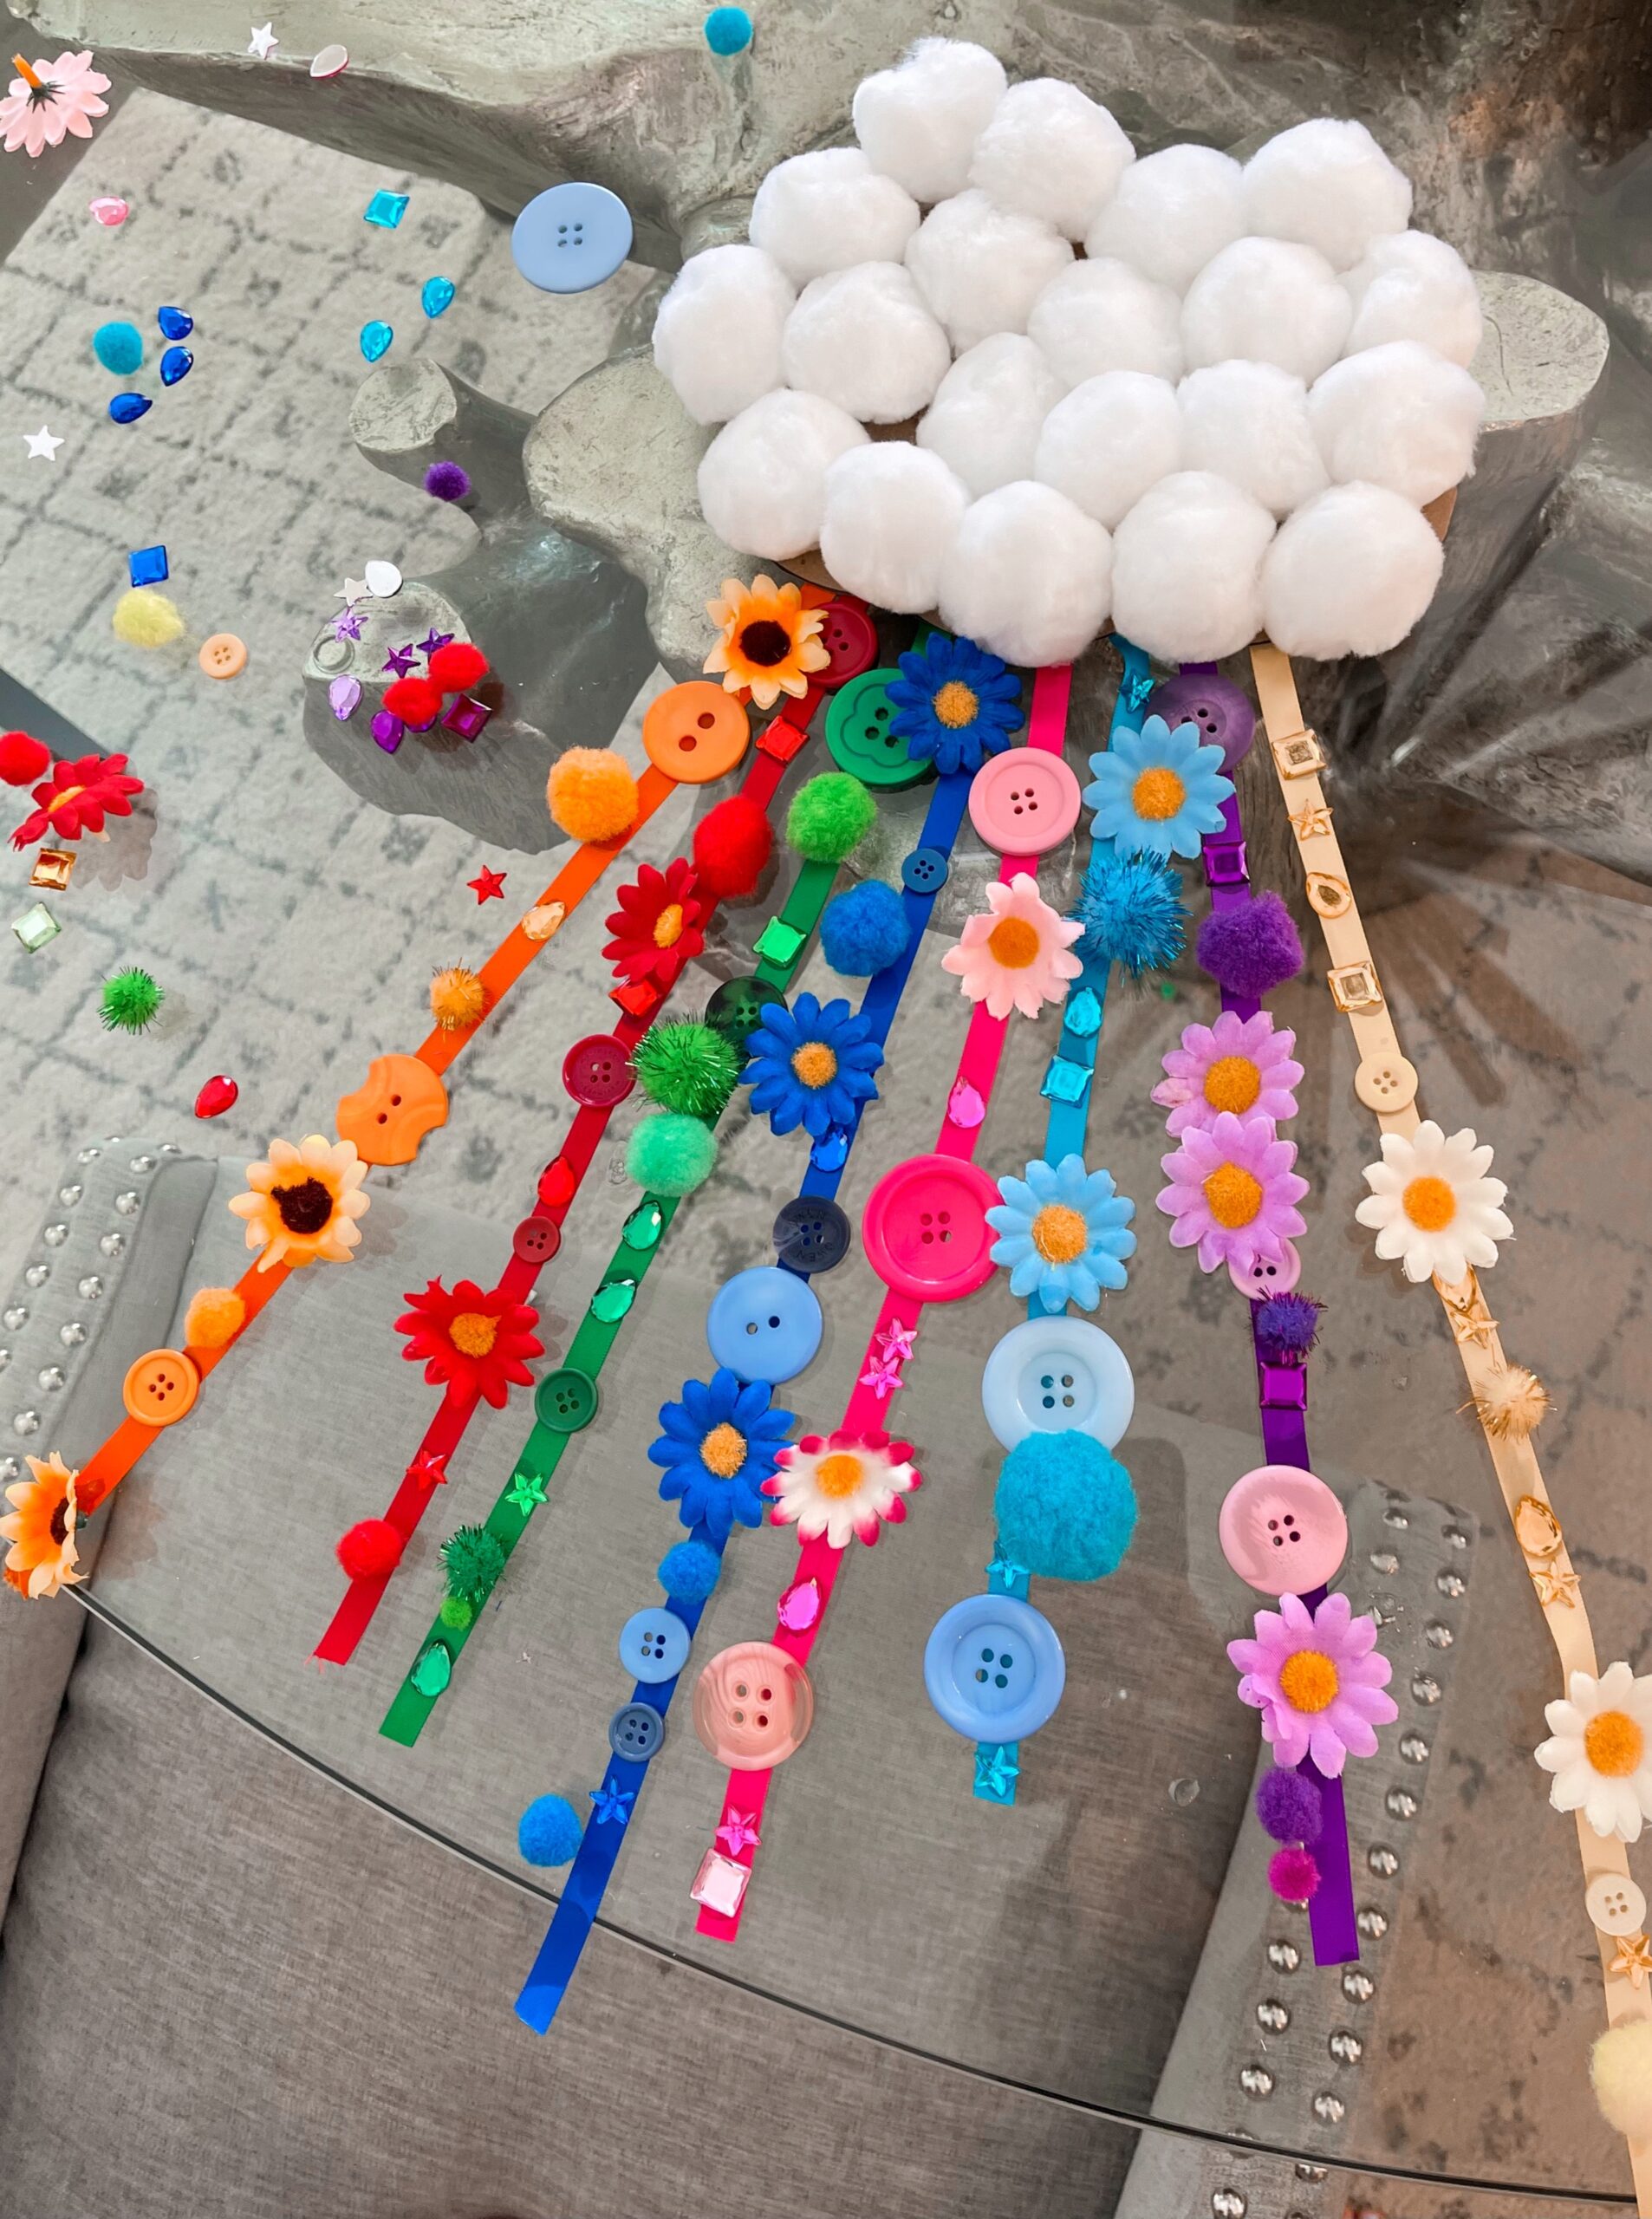
Sunshinewhispers.com has a super easy and fun rainbow craft for toddlers. Here are the materials that you need:
- Empty cereal box
- Dark-colored markers
- Scissors
- White pom poms
- Satin craft ribbon in the color of the rainbow (red, orange, yellow, green, blue, purple)
- Craft glue
- Buttons, pom poms, craft flowers, and craft jewels (color of the rainbow)
- Plates or bowls in the color of the rainbow (this is optional if you want to make the craft a color sorting activity as well)
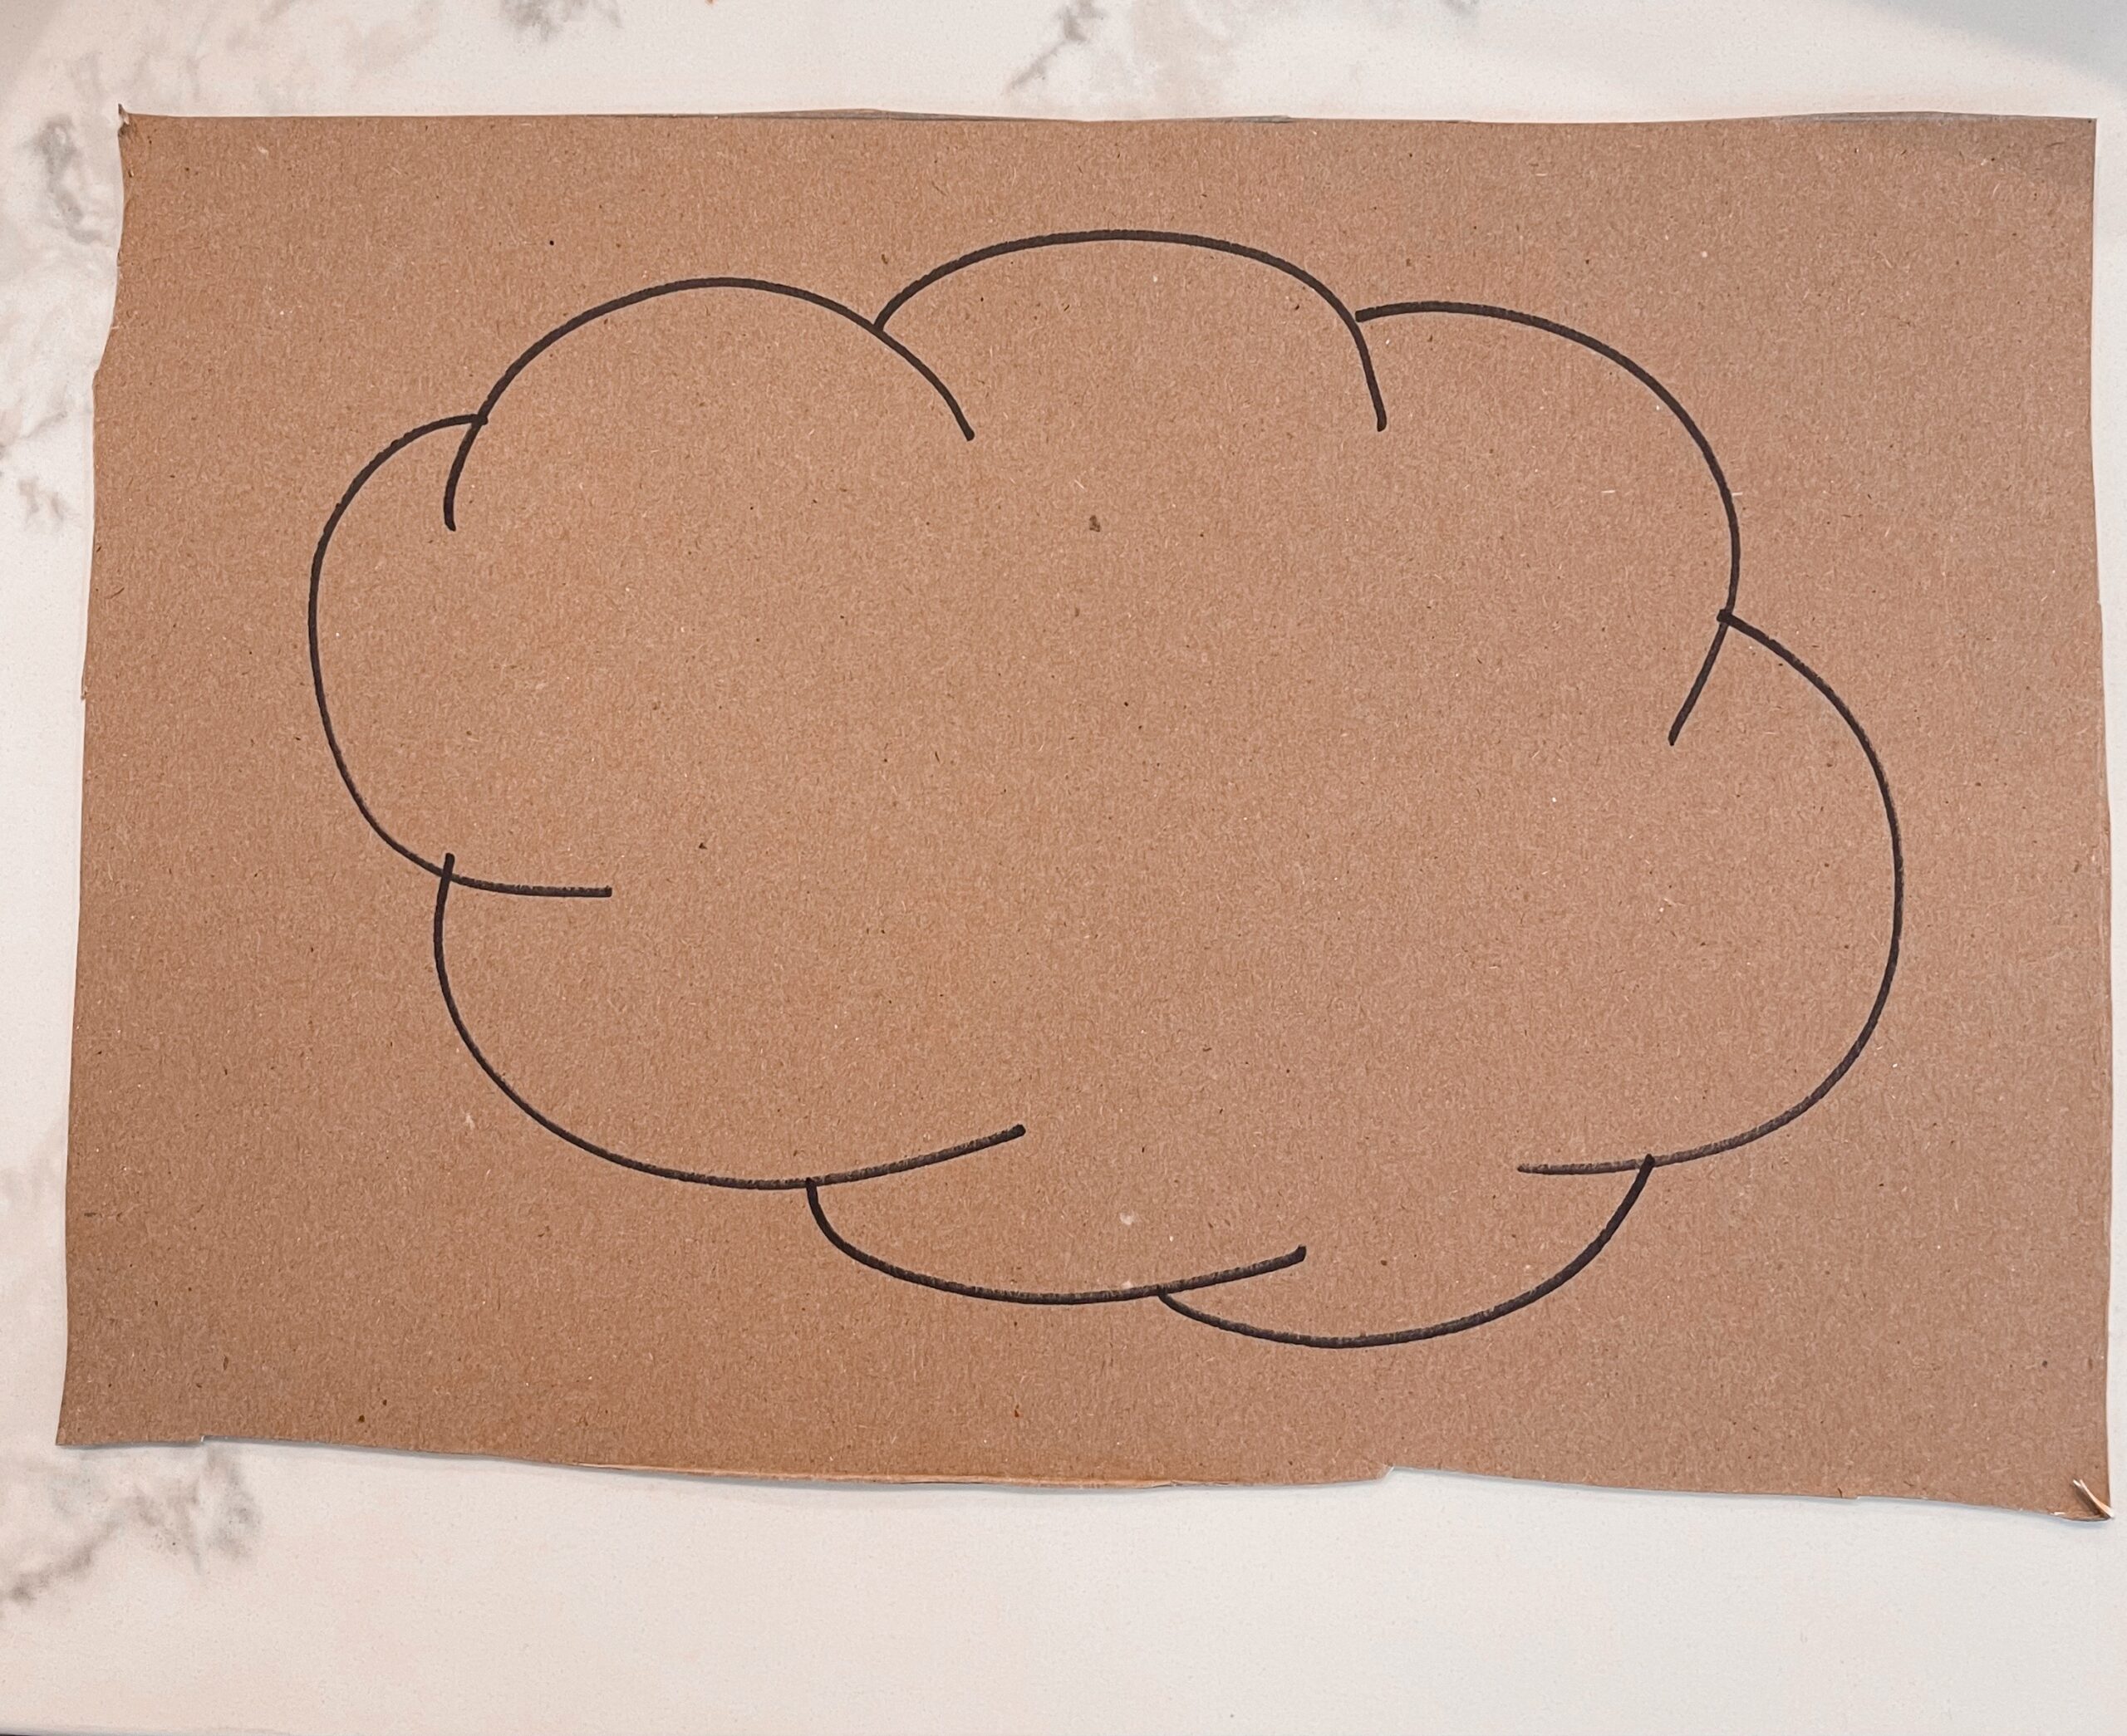
To start you will want to cut the cereal box and draw a cloud freehand on the inside surface of the box. You will want to draw the cloud as big as the back or front panel of the cereal box (cardboard box works well too). You’ll then want to cut out the cloud.
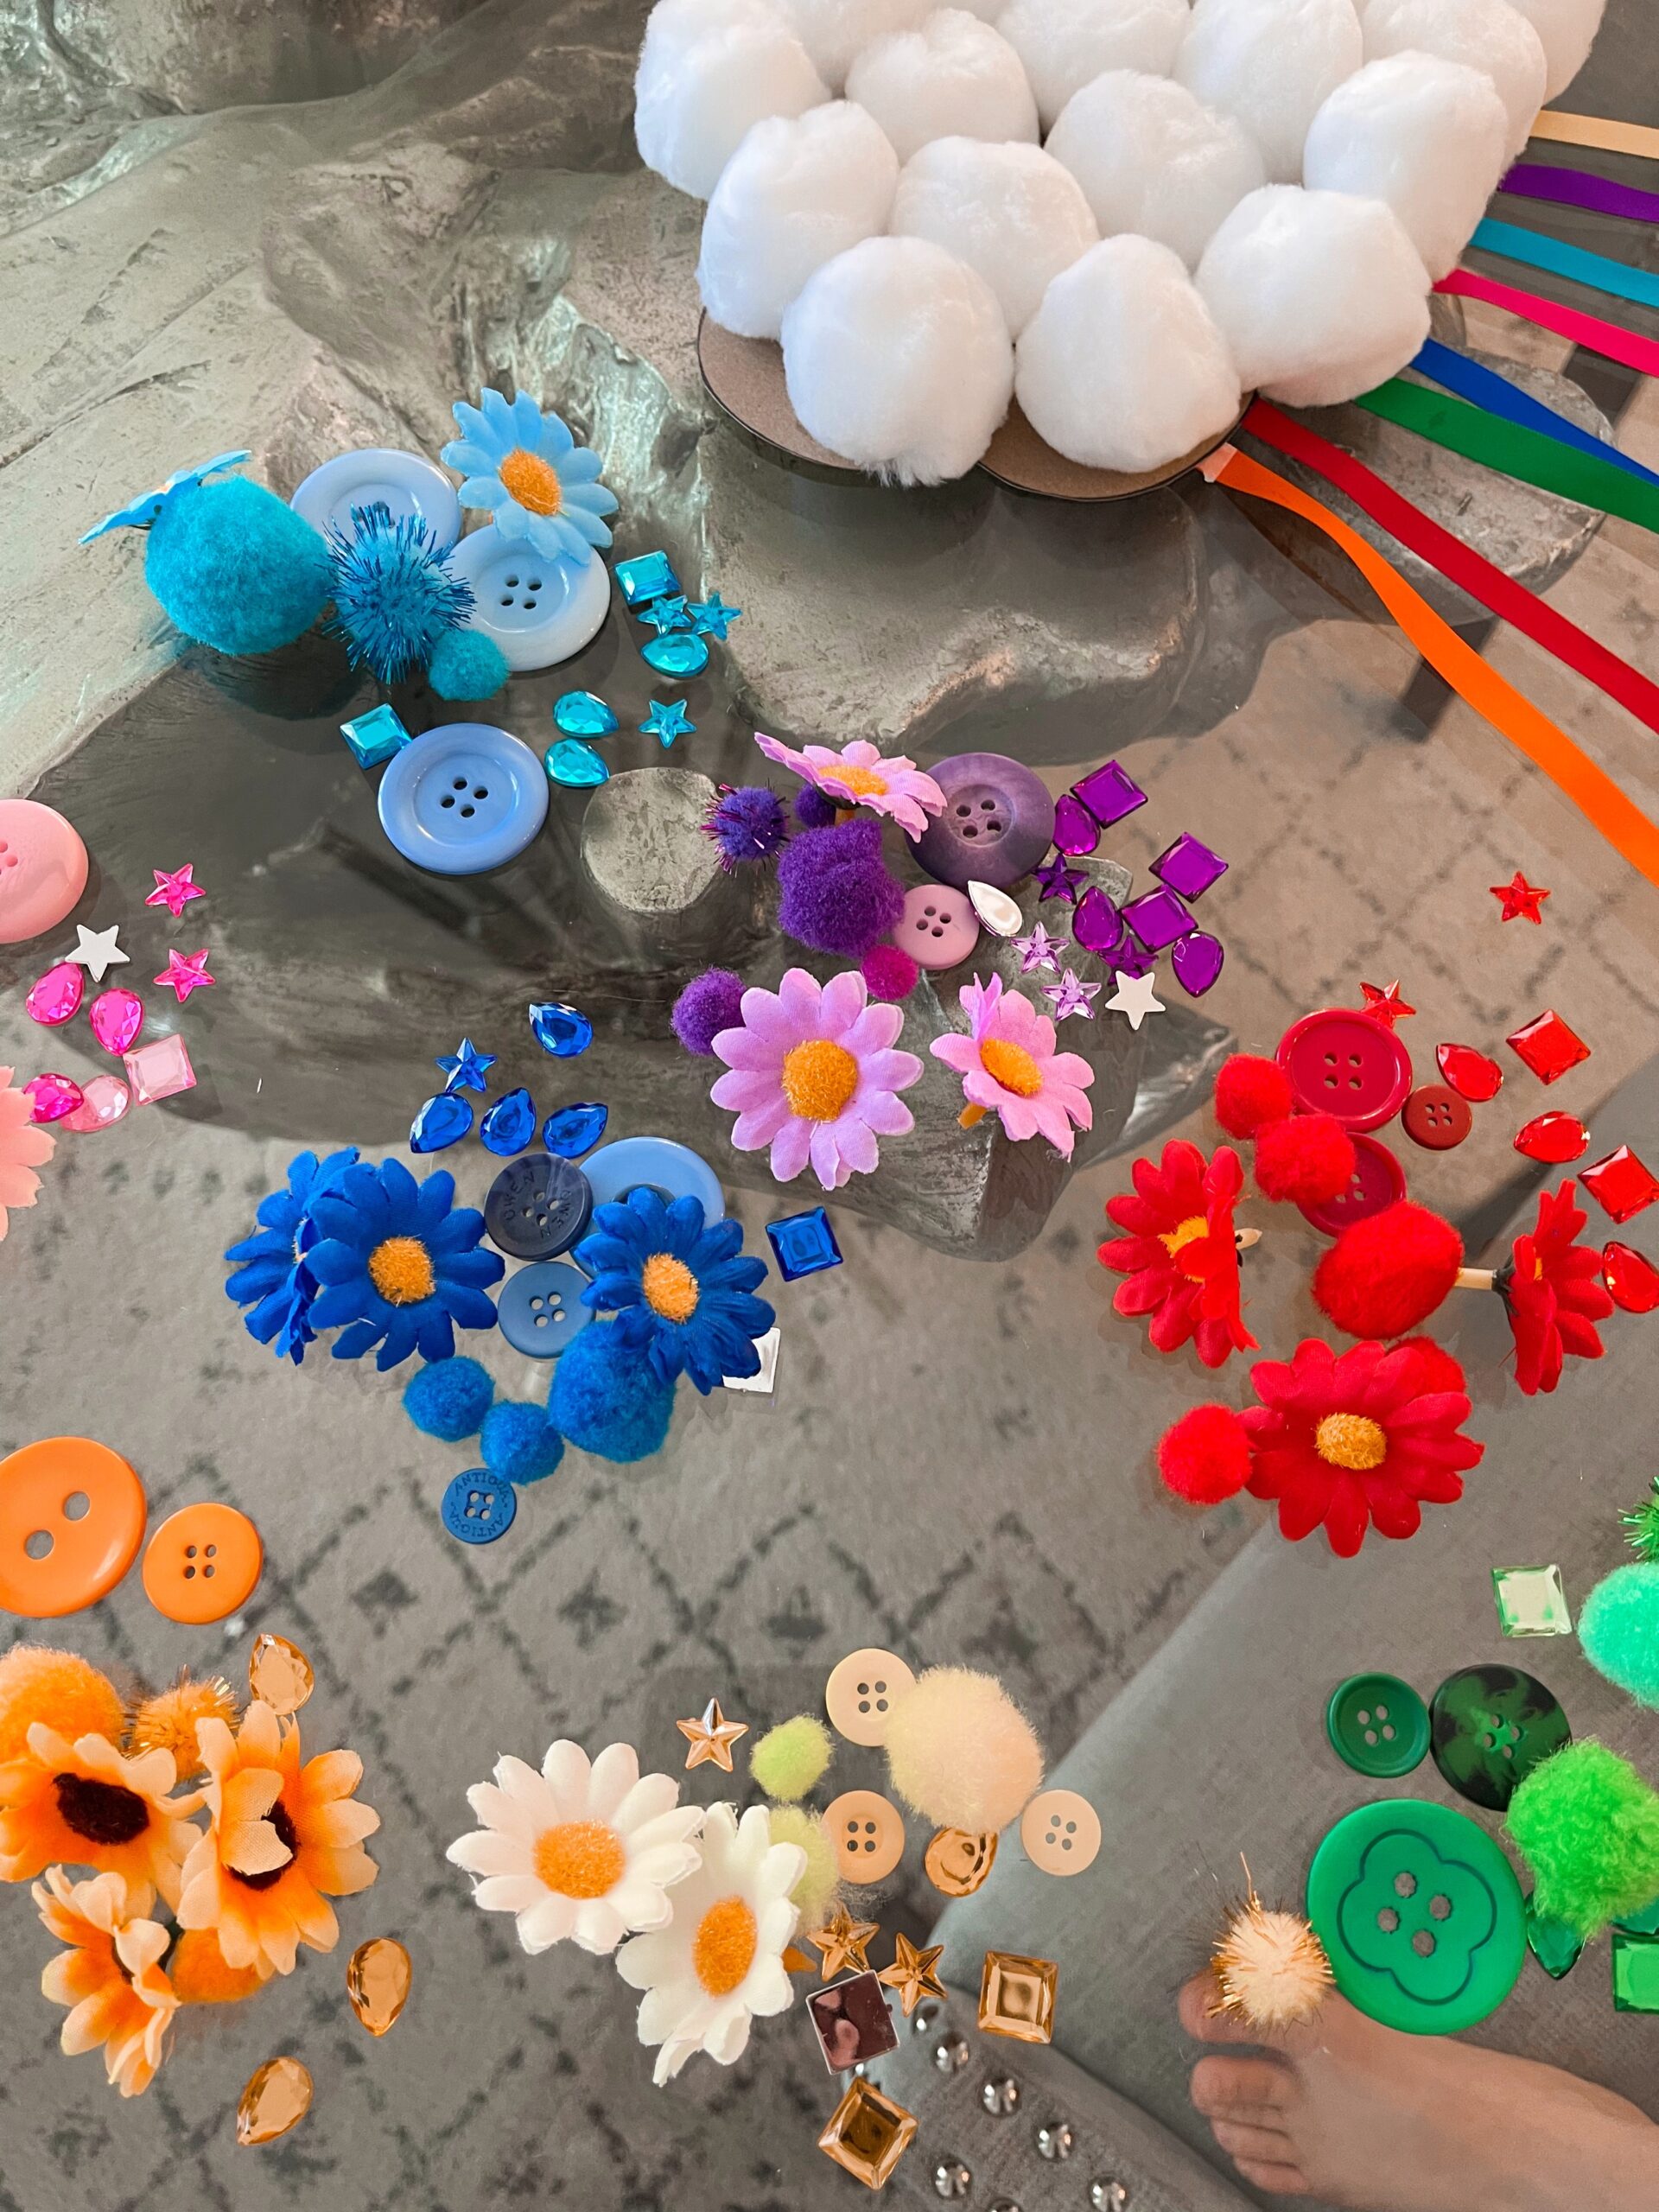
You’ll then want to glue the entire surface of the cloud and help your little one place the white pom poms. Make sure you have a lot of white pom poms to cover the entire cloud. Set aside once complete.
With each colored ribbon cut about 1 ½’ – 2’ of ribbon. Have your toddler pick any color of the rainbow ribbon to start with. Have them one by one start color matching and gluing the buttons, pom poms, jewels, etc. to the ribbon. Be sure to leave space at the top of the ribbon so that you can glue the ribbons to the back of the cloud. Put the decorated ribbons aside to dry.
Once all pieces have dried it’s time to glue the rainbow ribbons to the back of the cloud. Let dry and hang it up on the wall or tape it to the fridge to enjoy the beautiful craft you just created.
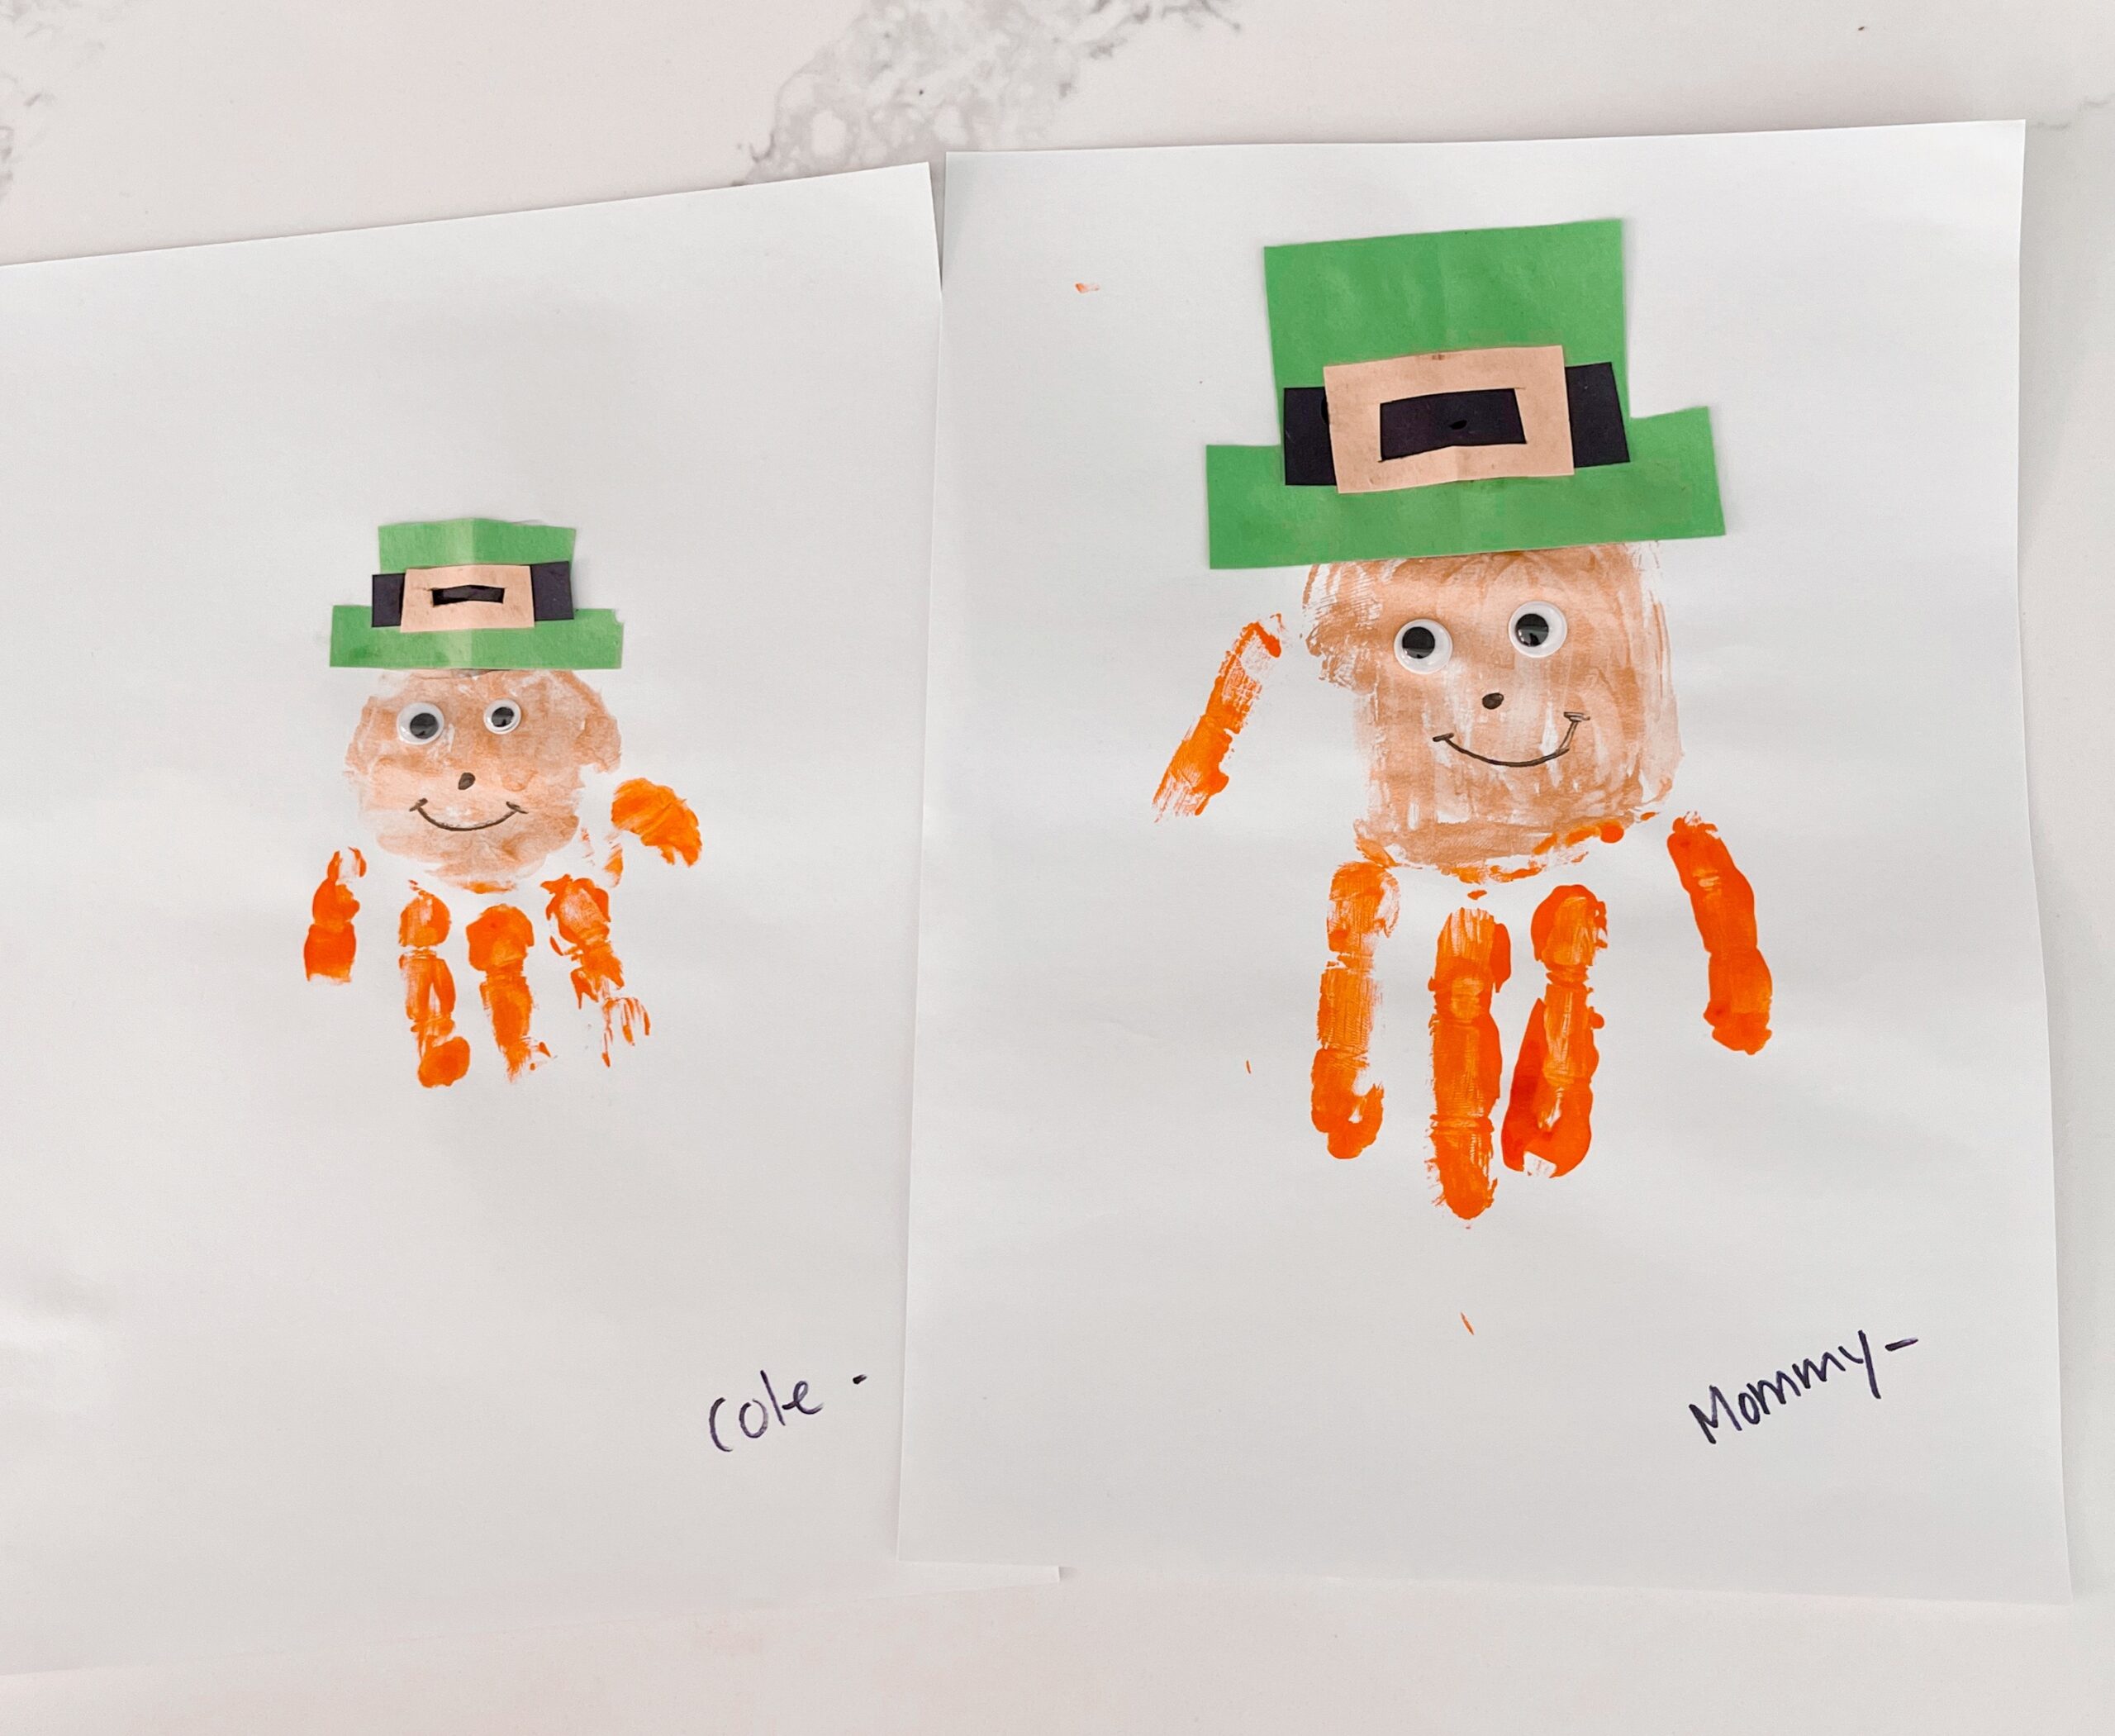
The Leprechaun Handprint
The Leprechaun Handprint I found from craftymorning.com is a fun craft for your toddler to create his or her own leprechaun by using their own hand. Here are the items you will need.
- Orange, green, and tan colored paint
- Googly eyes
- Black sharpie
- Black and yellow paper
- Scissors
- Glue
First, you’ll want to paint your kiddo’s fingers orange and in the middle of palm skin-colored pain. Have them press down firmly onto the piece of white paper. With a paintbrush have them draw a Leprechaun hair with green paint (you may need to assist depending on how old your kiddos are). Use some orange paint right under the hat and around the top of the head. Let the paint dry.
Once dry it’s time to glue the googly eyes and draw a mouth using the black sharpie, and a dot for a nose. Cut a skinny strip of black construction paper and press it on the green hat. Then cut out a square using yellow construction paper, fold it, and cut a square out of the inside. Glue it to the has and now you have a fun Leprechaun art craft.
Let me know if your little one enjoyed these ideas or if you have any fun craft ideas please share!
